
Last updated September 20, 2026
Free on-site gate assessment - hinges, posts, and your LiftMaster or Nice gate operator checked before anything is quoted
The assessment is free and the quote is the invoice.



 Before
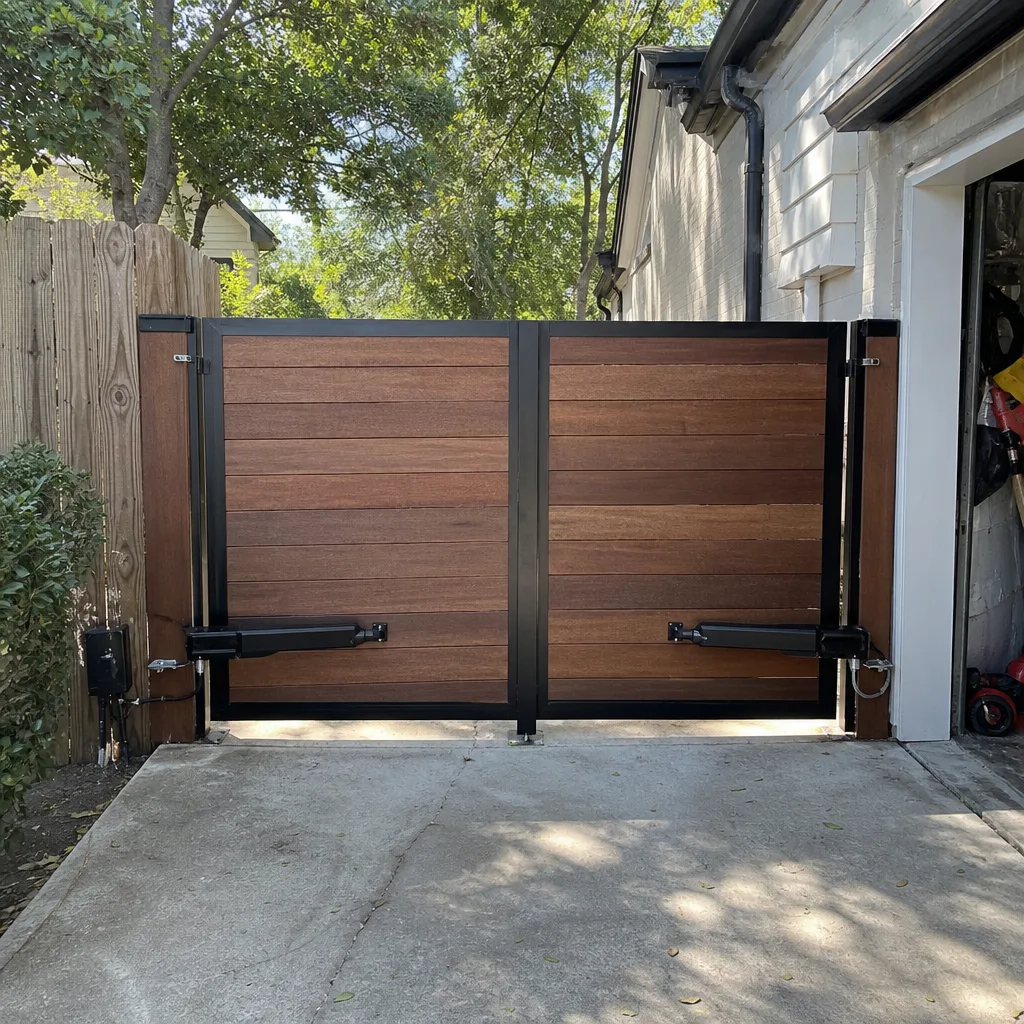 After
After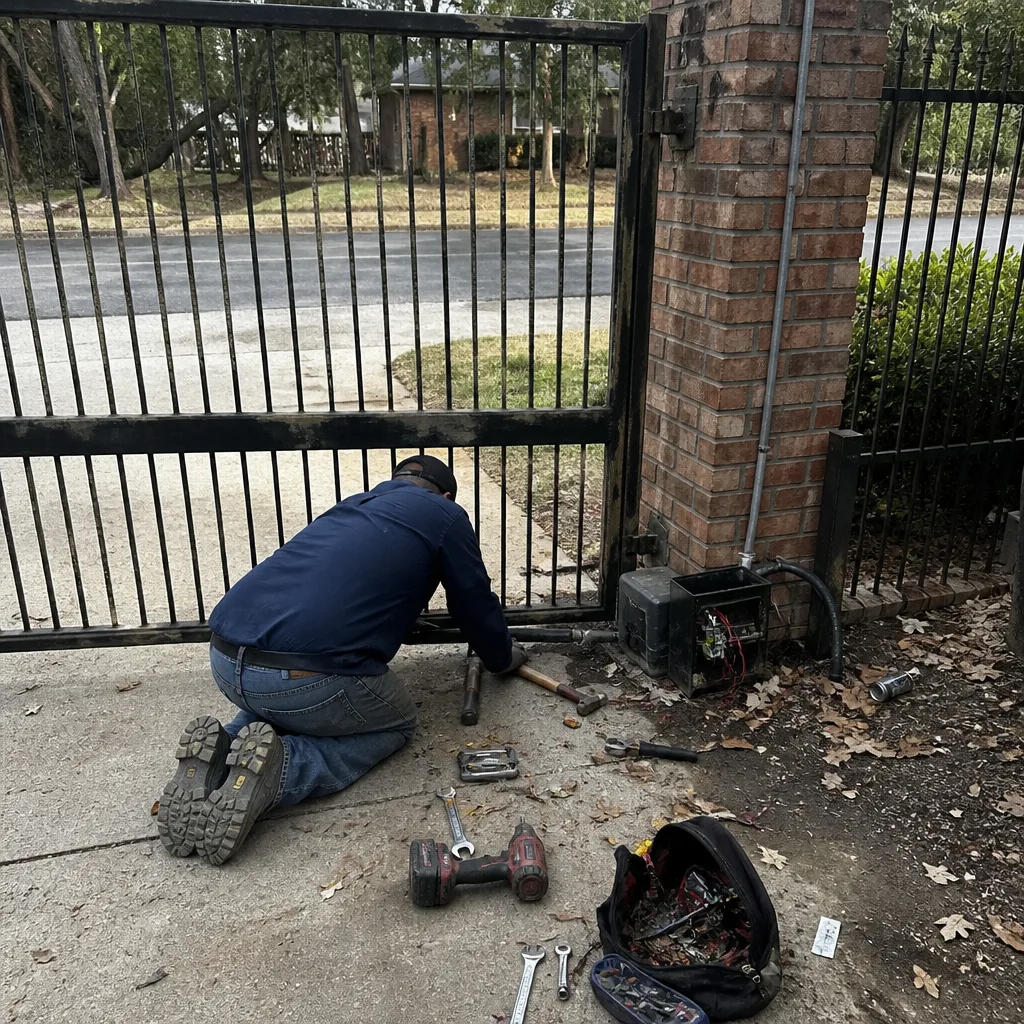 Before
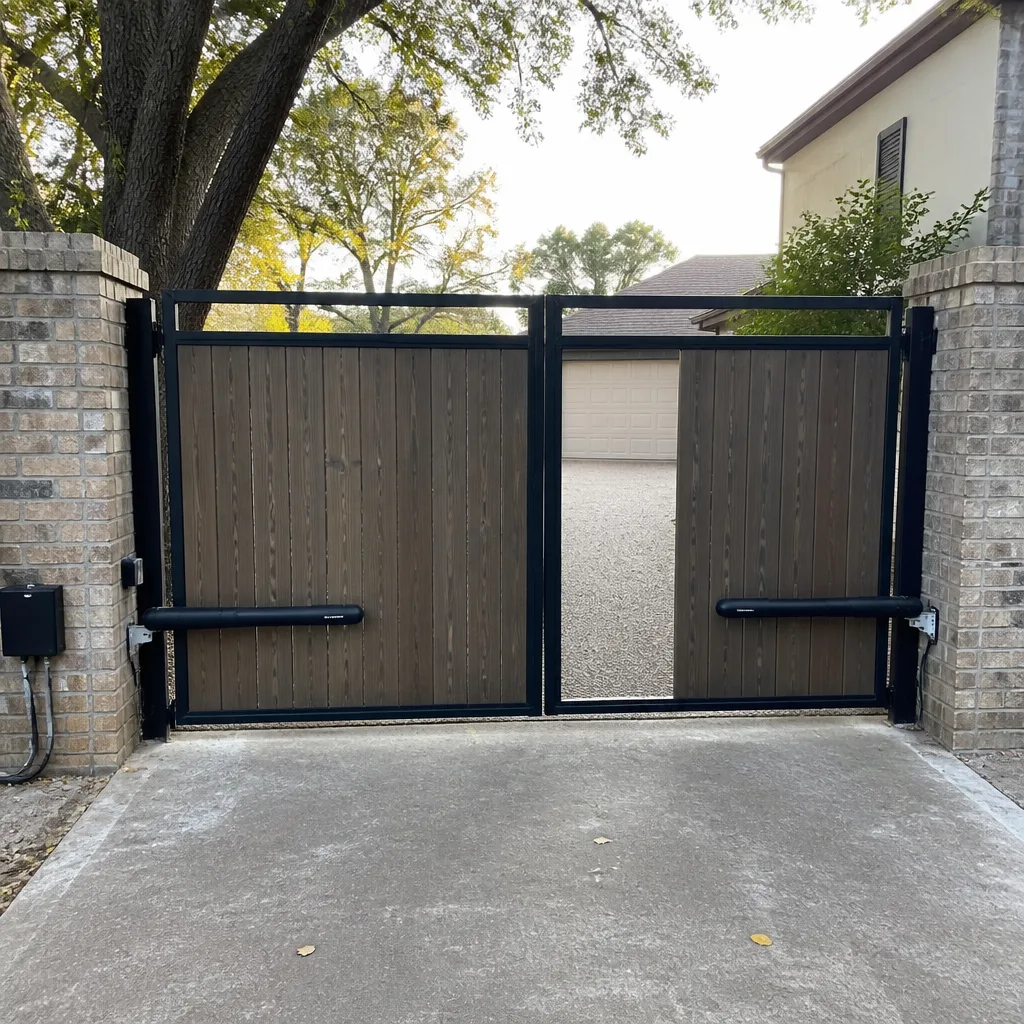 After
After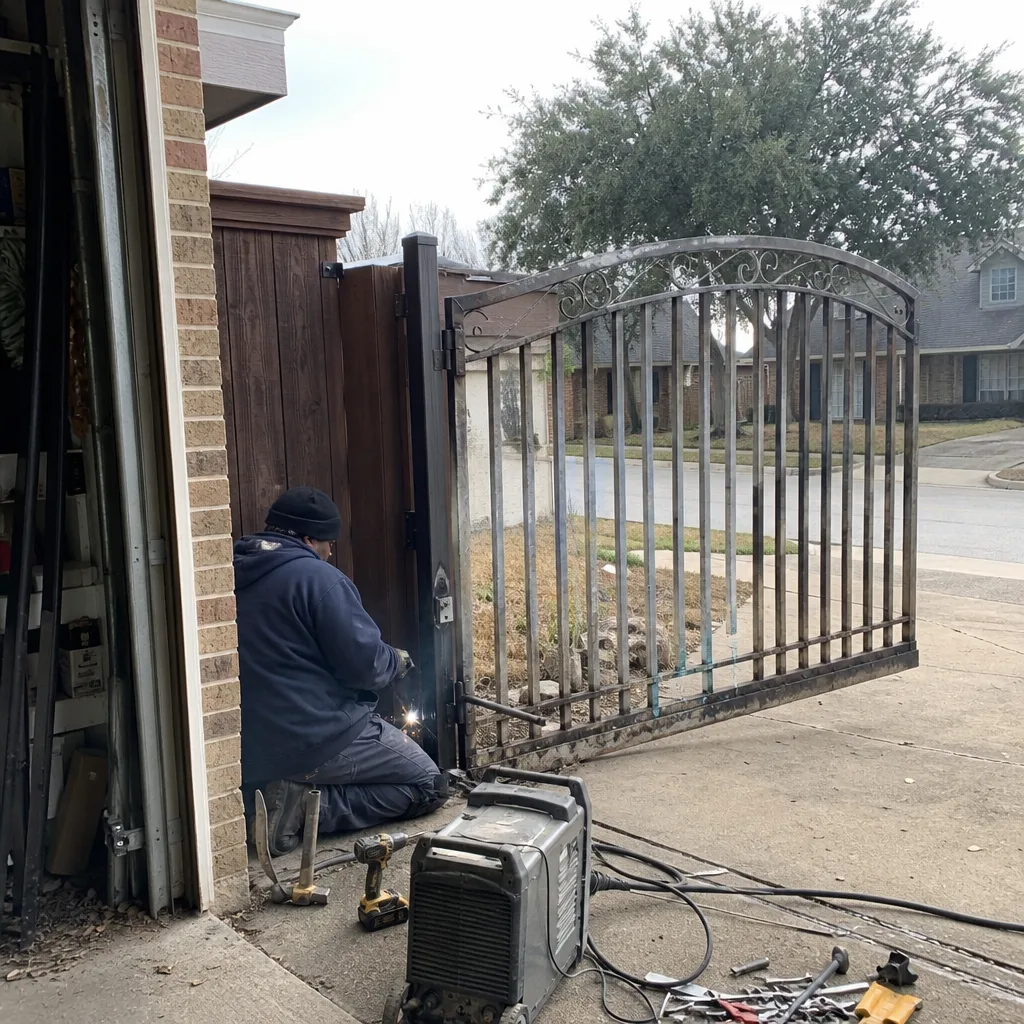 Before
 After
AfterGate Repair Maintenance Checklist for Dallas Homeowners
Most gate maintenance checklists you’ll find online were written for Phoenix, or Atlanta, or somewhere that doesn’t have Dallas’s specific problem: clay soil that expands and contracts with every rain-dry cycle, coupled with summers that push surface temperatures past 140 degrees on dark metal. For Gate Repair Warning Signs: A Dallas Homeowner’s Reference Guide, see our dedicated resource. That combination means your gate’s hinges, chain tension, and lubricant don’t degrade on the schedule some national blog assumes. They degrade faster, and they fail in a specific order. This checklist gives you the pass/fail thresholds, not just the tasks. You’ll learn how to measure hinge wear with a tape measure, how to read chain slack by hand, what lubricant actually survives a Dallas August, and which four photos to take so you can see drift happening before it becomes a breakdown.
Quick Answer
A Dallas gate maintenance routine should include monthly visual checks of chain or belt tension, hinge alignment, and safety sensor function, plus a seasonal deep inspection every spring and fall. For issues beyond these basics, our Gate Repair services can handle the work. The pass/fail thresholds in this guide, like a hinge gap over 1/8 inch or a chain with more than 1/2 inch of vertical play, tell you when to address a problem before it damages the motor. Most homeowners in Dallas need to lubricate chains and hinges twice as often during summer months as during winter, and the four-angle photo protocol below is the single most effective way to catch slow drift early.
Table of Contents
- Why Dallas Gates Fail Differently Than Gates in Other Cities
- Chain and Belt Tension: The Tolerances That Matter
- Hinge Wear: How to Measure with a Tape Measure
- Lubrication for Dallas Temperatures
- The Four-Angle Photo Protocol
- Electrical Checks Homeowners Can Safely Do
- Seasonal Maintenance Schedule for Dallas
- Common Mistakes to Avoid
- When to Call a Professional
- Frequently Asked Questions
- The Bottom Line
BeforeAfterWhy Dallas Gates Fail Differently Than Gates in Other Cities
Before you run through any checklist, it helps to understand what you’re actually fighting against. Dallas sits on expansive clay soil, the same gumbo clay that cracks foundations and shifts fence posts. When it rains, that clay swells. When it dries, it contracts. A gate post set in that soil moves by fractions of an inch every season, even if the concrete around it looks fine. Over three or four years, those fractions add up until the gate no longer lines up with the latch, the hinges bind, and the motor starts working against resistance it was never designed to handle.
Then there’s the heat. A black steel gate in direct July sun can reach 140 to 160 degrees on the surface. That temperature burns off thin lubricants in weeks, not months. It also expands the metal itself, which changes the gap tolerances between gate and post from morning to afternoon. A gate that clears its latch at 8 a.m. can drag by 3 p.m. We’ve measured this in Dallas neighborhoods from Lakewood to Preston Hollow: a gate with proper clearance at dawn can bind by late afternoon purely from thermal expansion. Any maintenance routine that doesn’t account for this is incomplete.
Chain and Belt Tension: The Tolerances That Matter
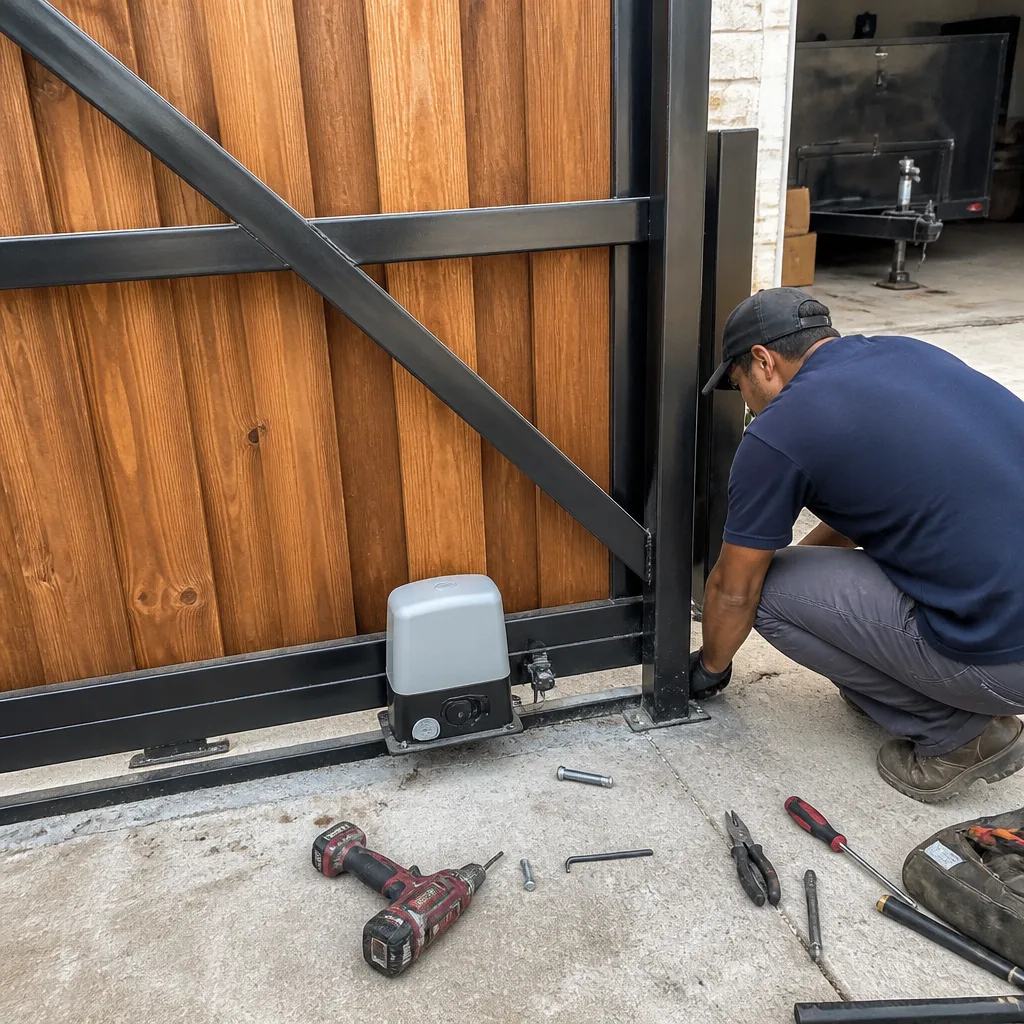
“Check the chain tension” is the most useless instruction on a generic checklist unless you know what correctly tensioned actually looks like. Here’s the standard we use on service calls across Dallas.
Chain Drives
For a chain-drive gate opener, find the midpoint of the chain run between the motor sprocket and the idler sprocket. Press down on the chain with one finger. A properly tensioned chain should deflect between 1/4 inch and 1/2 inch. Less than 1/4 inch means the chain is too tight, which puts lateral load on the motor bearings and shortens their life. More than 1/2 inch means the chain is too loose, which causes the chain to slap against the rail, jump teeth on the sprocket under load, and wear the sprocket tips into sharp points. If you see shiny metal filings under the chain, the sprocket is already wearing, usually from running too loose.
Belt Drives
Belt-drive openers use a steel-reinforced rubber belt. The deflection spec is slightly tighter: 1/4 inch to 3/8 inch at the midpoint. A belt that’s too loose will skip, and a belt that’s too tight will stretch over time and start to fray at the edges. Unlike chains, belts don’t stretch gradually, they fail suddenly, so if you notice the belt has needed adjustment twice in a year, plan for replacement.
What Slack Means for Motor Load
Every extra bit of slack in the drive system translates directly to higher starting torque on the motor. When a chain is loose, the motor has to take up that slack before the gate actually moves, which means a momentary spike in current draw. Over hundreds of cycles, those spikes burn out capacitors and strain the gearbox. In our experience repairing gate motors in Dallas, a high percentage of motor failures we open up show signs of chronic over-tension or under-tension long before the motor itself gave out. The drive system is almost always the root cause, not the motor.
How to Check It:
- Disconnect power from the opener motor. Never perform this with the system energized.
- Locate the midpoint of the chain or belt between the motor and the far sprocket.
- Press down with one finger and measure the deflection against a ruler.
- Compare to the specs above.
- If adjustment is needed, most openers have a tension adjustment bolt, but if you are unsure, a professional can set it in under ten minutes.
- After adjusting, run the gate through two full cycles and re-check. Heat from operation can change tension slightly.
Hinge Wear: How to Measure with a Tape Measure
Hinges are the silent killer of Dallas gates. They wear slowly, the gate sags incrementally, and by the time the gate is dragging on the ground, the hinge pins have been ovaled out and the motor has been fighting that drag for months. The fix at that point is not a hinge replacement, it’s a full realignment and often a weld repair. Catch it early and you replace a pair of hinges for a modest cost instead of a full gate rebuild.
The 1/8-Inch Rule
Stand at the latch side of the gate and look at the gap between the gate edge and the post. For a swing gate, that gap should be uniform from top to bottom. If the top gap is wider than the bottom gap by more than 1/8 inch, the hinges are worn and the gate is sagging. For a slide gate, look at the gap between the gate frame and the ground track. A properly hung slide gate should maintain a consistent 1 to 2 inch clearance along its entire length. If one end is visibly lower, the roller brackets or hinge points are worn.
How to Measure It:
- Close the gate fully.
- Measure the gap between the top of the gate and the post at the hinge side. Write it down.
- Measure the same gap at the bottom hinge. Write it down.
- Compare the two numbers. A difference over 1/8 inch means hinge wear.
- Open the gate halfway and lift up on the latch end. Any vertical movement over 1/4 inch confirms the hinge pins are worn.
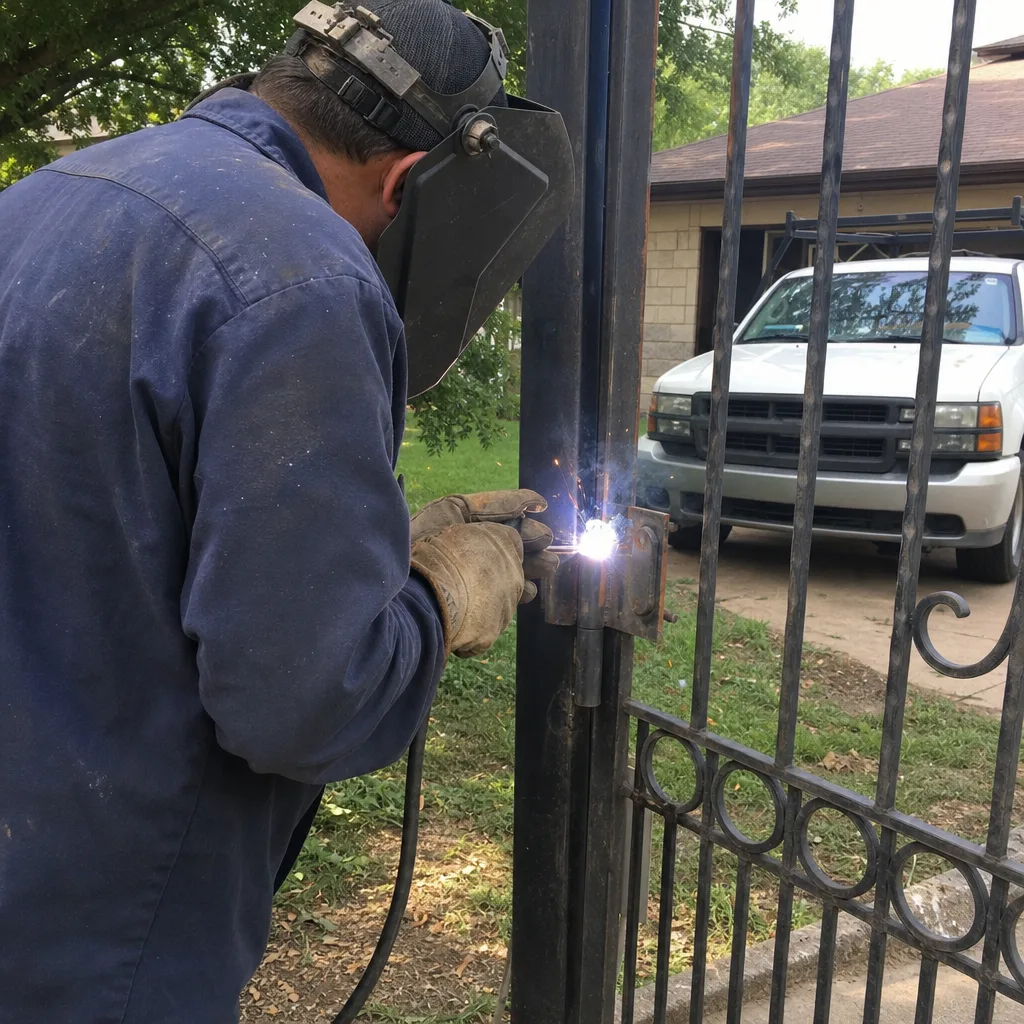
This is a five-minute check that tells you exactly where your gate is headed. If you catch it before the 1/8-inch threshold, hinge replacement is a simple job. Past that, you are looking at reshimming the gate, and potentially cutting and rewelding hinge plates if the sag has been allowed to continue for a couple of Dallas seasons.
Lubrication for Dallas Temperatures
The single biggest variable most checklists get wrong is the re-application interval. A gate in Dallas needs different lubricant and a different schedule than a gate in a milder climate. The summer sun, as noted, drives surface temperatures past 140 degrees, which thins out standard lubricants and leaves the metal functionally dry within a matter of weeks.
What to Use
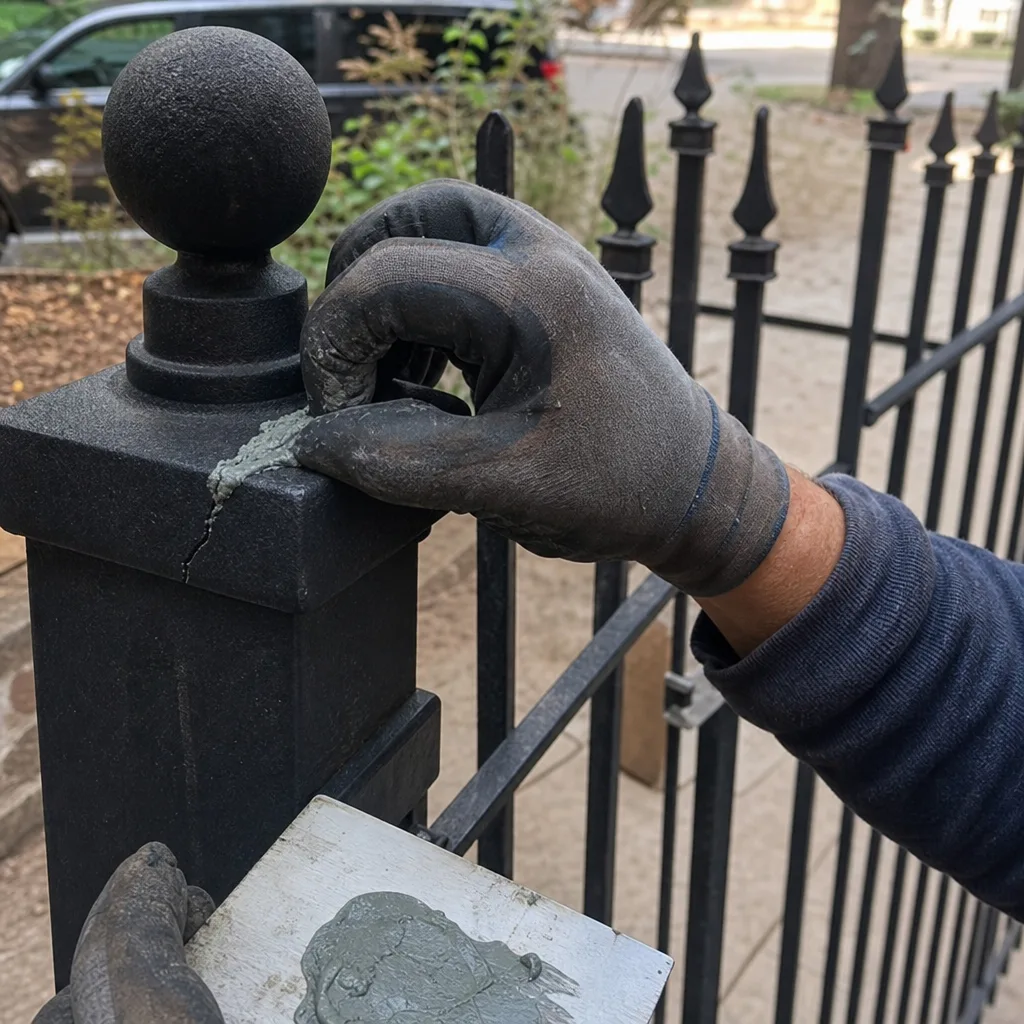
- Dry moly or PTFE-based spray for chain drives. These don’t attract dust the way grease does, and they survive higher temperatures without running off. Avoid heavy grease on chains. In Dallas, grease traps fine clay dust and becomes an abrasive paste within a month.
- Silicone spray for hinge pins and roller bearings. Silicone resists the heat and doesn’t break down the nylon or plastic bushings found in many modern gate rollers.
- White lithium grease for threaded adjustment points only, like the turnbuckle on a slide gate. Use it sparingly.
What Not to Use
- WD-40 as a lubricant. WD-40 is a water displacer and solvent. It cleans, it doesn’t lubricate, and it evaporates completely within days in Dallas heat.
- Heavy axle grease on chains. It works in cold climates where it stays put. In a Dallas summer it melts, runs off, and leaves behind the grit it collected.
- Cooking spray or household oils. These polymerize in heat and create a sticky film that accelerates wear.
Reapplication Schedule
- Summer (May through October): lubricate chains and hinges every 4 to 6 weeks. The heat breaks down lubricant fast enough that waiting 90 days leaves components dry for half that window.
- Winter (November through April): lubricate every 8 to 10 weeks. Cooler temperatures slow the breakdown, but the winter rain means you want clean lubricant on there before it gets wet, not after.
- After any significant rain event: if the soil around your gate posts has been saturated, re-check hinge alignment even if you just checked it. Clay heave moves gates fast.
The Four-Angle Photo Protocol
This is the practice that separates homeowners who catch problems early from homeowners who discover them the day the gate stops moving. Documenting your gate from the same four angles every inspection gives you a visual record you can compare over time. Drift that’s invisible from one visit to the next becomes obvious when you lay two photos side by side.
The Four Angles
- Hinge-side profile: stand perpendicular to the hinge line and shoot the gap between gate and post from top to bottom. This catches saga and hinge wear.
- Latch-side profile: same position on the latch side. This catches thermal expansion drift and latch misalignment.
- Ground-clearance shot: crouch and shoot along the bottom edge of the gate from one end. This shows sag and roller wear on slide gates.
- Full-frame frontal: stand back far enough to capture the entire gate in the opening, both posts, and the track or ground below. This gives you a reference frame for all the detail shots.
How to Make It Actually Useful
- Use the same position and same camera height every time. Consistency is the entire point.
- Do it on the same day of the month, or immediately after any weather event that involved heavy rain or freeze-thaw cycles.
- Store them in a dedicated album on your phone. You are building a visual timeline, not taking casual snapshots.
- Compare the current set to the previous set, not to your memory. Memory is unreliable for measurements under half an inch.
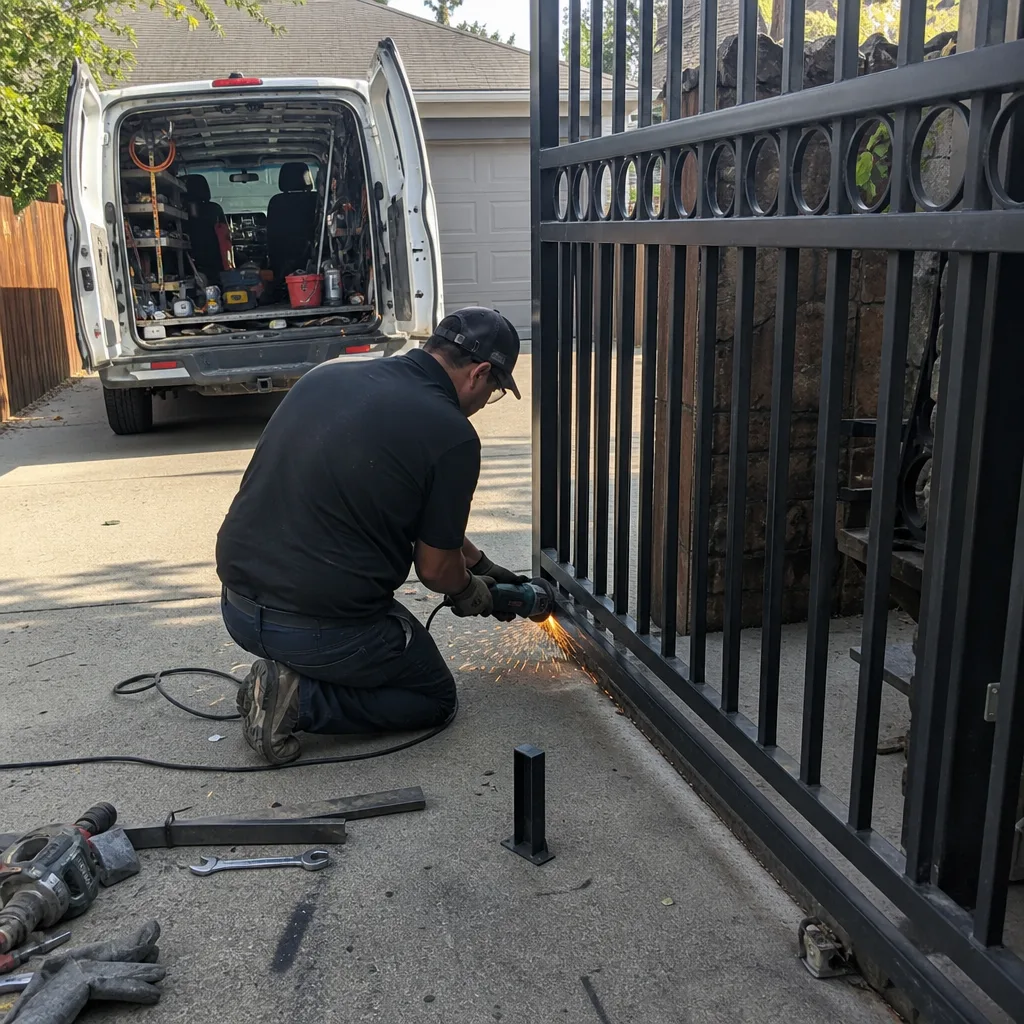
When we perform a gate repair in Dallas, we leave behind a documented photo record of exactly what we found, what we adjusted, and what we replaced. Under the Haven Standard, Clause 4, that evidence is part of every visit at no additional charge. Homeowners who adopt the same habit on their own inspections are essentially running their own early-warning system between professional checkups.
Electrical Checks Homeowners Can Safely Do
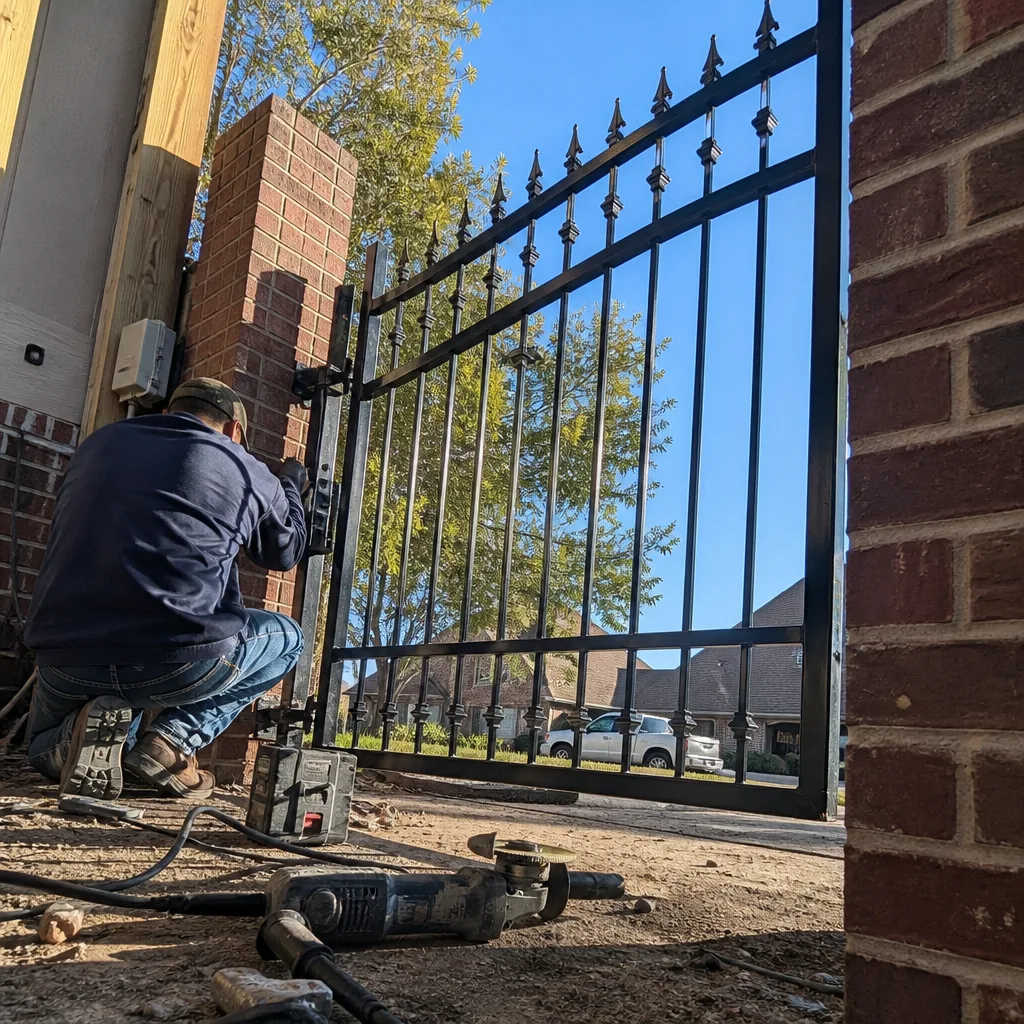
Most electrical work on a gate opener system should be left to a licensed technician. The high-voltage supply, the capacitor inside the motor housing, and the circuit board all carry enough current to cause serious injury if handled incorrectly. That being said, there are two electrical checks a homeowner can safely perform without opening the motor housing or touching any live terminals.
Check 1: Battery Voltage on Backup Systems
Many gate openers, particularly brands like Viking and Ghost Controls, run on DC power with battery backup. If your opener has a battery, locate the battery housing, usually a small external box near the motor or inside the control box. With the system unplugged from AC power, use a digital multimeter set to DC voltage. A healthy 12-volt battery reads between 12.4 and 12.8 volts. Below 12.0 volts, the battery is failing and should be replaced. This is a touch-the-probes only operation. Do not open the battery casing or attempt to service it.
Check 2: Safety Sensor Alignment
Safety sensors, often called photo-eyes, are the small paired units mounted on either side of the gate opening. They project an invisible infrared beam. When the beam is broken, the gate stops and reverses. Most sensor failure is not electrical, it’s alignment. Here’s how to check it:
- Find the two sensor units. They will face each other, one on each side of the gate path.
- Check the indicator lights. Most brands have a small LED. A solid green or blue usually means aligned and clean. A blinking or red light means misaligned or dirty.
- Wipe the sensor lenses with a dry cloth. Dallas dust and pollen cloud these lenses faster than most people expect.
- If the light doesn’t return to solid, gently adjust the sensor bracket until the indicator changes. This is a low-voltage part and safe to touch.
- Test by closing the gate and passing your hand through the beam. The gate should stop and reverse. If it doesn’t, call a professional before using the gate again. A non-functioning safety sensor is a serious injury risk.
What Requires a Licensed Technician
Anything that involves opening the motor housing, testing the capacitor, probing the circuit board, tracing line-voltage wiring, or working with the high-tension springs on a broken gate should be handled by a professional. Before starting any project, check Gate Repair Permits, Codes & Inspections in TX: What You Need to Know to stay compliant. These components can retain a dangerous charge even with the system unplugged. The line is simple: if the check involves touching only low-voltage components from the outside, it’s safe. If it involves opening anything, it’s not.
Seasonal Maintenance Schedule for Dallas
Dallas doesn’t really do four distinct seasons the way other parts of the country do. What we get is a long hot season, a short mild season, and a few weeks of genuine cold thrown in unpredictably. The maintenance schedule below is built around that reality.
Spring (March to May)
- Full deep inspection after the winter rains. Check for soil heave around the gate posts, particularly if your gate is set in expansive clay.
- Lubricate all chains, hinges, and rollers. The heat is coming.
- Check battery voltage on backup systems. Batteries degrade faster when they’ve been cycling through winter cold snaps.
- Test the auto-reverse and safety sensors. This is a required annual safety check regardless of climate.
- Inspect the chain or belt tension against the tolerances listed above. Spring is the best time for drive system adjustment, before the heat changes your clearances.
Summer (June to September)
- Re-lubricate every 4 to 6 weeks. This is the interval that matters most in Dallas.
- Check the ground clearance on hot afternoons. Thermal expansion is at its maximum, and if the gate is close to dragging, it will drag now.
- Listen for strain in the motor on opening. A motor working harder than it did in spring is telling you something shifted.
- Run the four-angle photo protocol monthly during this window. Heat accelerates every form of drift, and month-to-month comparison is the fastest way to catch it.
Fall (October to November)
- Second deep inspection of the year. This is the time to catch any damage done by summer heat before the winter rain drives moisture into every crack.
- Lubricate again, but this time you’re preparing for wet weather, not heat. Clean first, then lubricate, so you’re not sealing in summer dust.
- Check post stability. The first fall rains are when clay heave starts moving posts again, particularly after a dry summer.
- Test the manual release. If the gate needs to be operated manually during a power outage, you don’t want to discover the release is seized when you need it.
Winter (December to February)
- Lubricate every 8 to 10 weeks. Less heat means less burn-off, but cold snaps make metal contract and stiffen.
- Watch for frost-heave movement after hard freezes. It’s less common in Dallas than further north, but it happens in neighborhoods with shallow post footings.
- Keep the photo protocol running monthly or after any freeze-thaw cycle.
- Check the gate closes fully and latches. In winter, a gate that hangs open is more than an inconvenience, it’s an invitation.
This schedule is intentionally practical. It is built around the way Dallas weather actually behaves, not the way a generic national checklist imagines it might. For more guides & resources, explore our blog. If you follow it, you’ll catch most problems before they cost real money.
Common Mistakes to Avoid

- Using WD-40 as a lubricant. It’s the most common mistake we see in Dallas, and the most damaging. WD-40 strips existing lubricant and provides no lasting protection. Use a proper dry moly or silicone spray instead.
- Ignoring a gate that still opens and closes. A gate can be badly out of alignment and still function, but every cycle is loading the motor harder than it was designed for. By the time it fails, the repair is motor replacement instead of hinge adjustment.
- Waiting until October to do the annual service. In Dallas, the critical service window is March, before the heat hits. A gate that’s marginal in spring will be broken by August. Fall service is good, but spring service is the one that saves you money.
- Over-tightening the chain or belt. Homeowners often assume tighter is better. It is not. An over-tightened chain destroys motor bearings and can snap a belt. Stay within the deflection tolerances above.
- Skipping the safety sensor test. The auto-reverse function is the primary injury prevention system on your gate. It should be tested monthly, not annually. A gate that doesn’t reverse on obstruction is a serious hazard to children, pets, and delivery drivers.
- Not keeping a photo record. Without baseline photos, you cannot detect drift. A “feeling” that the gate looks lower is not the same as a measurement. The four-angle protocol costs five minutes and saves thousands.
- Greasing a chain that hasn’t been cleaned first. In Dallas, clay dust and pollen collect on everything. Grease applied over that dust creates a grinding paste that accelerates chain wear. Clean with a dry brush or compressed air first, then lubricate.
When to Call a Professional
Some gate issues are maintenance. Some are repair. The line is usually clear. Call a professional when the gate has already sagged past the 1/8-inch hinge threshold, when the motor is straining audibly, when the auto-reverse has failed, when the chain or belt has snapped, or when you see cracked weld points anywhere on the frame. These are not conditions that improve with lubricant and a photo. These require repair before the next Dallas heat wave turns a small fix into a full replacement. Vance Gate Repair Dallas offers free estimates in Dallas and the surrounding metro, and we provide a written price before any work begins. Call (469) 299-5902 if you have identified a problem on this checklist and want an exact quote. If you already have a written estimate from another company, bring it in. We review competitor quotes at no cost, and we will tell you honestly whether the scope and price are fair.
Frequently Asked Questions

In Dallas, lubricate chains and hinges every 4 to 6 weeks during summer months (May through October) and every 8 to 10 weeks during winter. The summer heat burns off lubricant much faster than most national checklists account for, and waiting 90 days between applications leaves your drive system running dry for roughly half that window. For an exact quote on a professional maintenance visit, call (469) 299-5902.
Most gate repairs in Dallas run between $150 and $400 for common issues like hinge replacement, sensor alignment, and chain tension adjustment. Motor replacement typically runs higher, depending on the brand, and full gate replacement is a different category entirely. The exact price depends on what we find when we look at the gate, and we quote that in writing before any work starts. Call (469) 299-5902 for a free estimate.
Yes, you can perform the checks in this guide, including the four-angle photo protocol, hinge measurement, chain deflection testing, and the two safe electrical checks. What you should not do is attempt to service anything that requires opening the motor housing, handling the capacitor, working with high-tension springs, or probing line-voltage wiring. Those jobs carry a real risk of serious injury and require a trained technician. When you reach that threshold, call (469) 299-5902.
That is thermal expansion, and it is particularly common in Dallas. The gate and post heat up unevenly through the day, and by mid-afternoon the metal has expanded enough to close the gap that was adequate at dawn. This is usually a sign that the hinge or latch clearance was already marginal, and the solution is realignment, not lubrication. Call (469) 299-5902 if your gate is dragging in the afternoon heat.
The earliest signs of motor failure are audible strain on opening, slower travel, a burnt smell near the motor after use, or a gate that starts and then stalls. Any of these indicates the motor is working against resistance, usually from a drive system that has drifted out of tension or a gate that has sagged. The motor itself may still be good, but it will not stay good long under those conditions. Call (469) 299-5902 for a diagnostic.
We service nine major automation brands, including BFT, Linear, Viking, and Ghost Controls, along with LiftMaster, FAAC, DoorKing, Elite, and Mighty Mule. If your opener is already on the property and it is repairable, we repair it. We do not steer customers toward replacement when the existing motor can be restored to proper function. Call (469) 299-5902 and tell us what brand you have, and we will tell you honestly whether it is worth repairing.
The Bottom Line
A Dallas gate maintenance checklist is only as useful as the tolerances it gives you. Knowing that a hinge gap over 1/8 inch signals wear, a chain deflection over 1/2 inch needs tensioning, and lubricant burns off in four to six weeks during summer gives you measurable thresholds instead of vague instructions. Run the four-angle photo protocol monthly, do the seasonal deep inspections in March and October, and call a professional the moment you cross a threshold you cannot safely correct yourself. For gate maintenance, repair, or a free second opinion on an existing estimate, contact Vance Gate Repair Dallas at (469) 299-5902. We also provide gate installation in Dallas and gate motor and opener service in Dallas with the same written-price and documented-record standard we apply to every repair.
Written by Adrian Vance, Owner at Vance Gate Repair Dallas, serving Dallas since 2014.